Dear Student ,
Welcome to the Project TCLab!
In this guide, we'll walk you through the initial steps of building the hardware for our project. Our focus in this phase will be on constructing the PCB (Printed Circuit Board) and soldering the necessary devices. Let's dive in:
1. Understanding the Project: Before starting the hardware construction, make sure you understand the goals and requirements of Project TCLab. Familiarize yourself with the project's objectives, components, and desired outcomes. The next link provides detailed instructions.
2. Gathering Materials: Gather all the materials and components needed for building the hardware. This includes the PCB and its layout and electronic components such as resistors, capacitors, integrated circuits, connectors, and other parts specified in the project documentation.
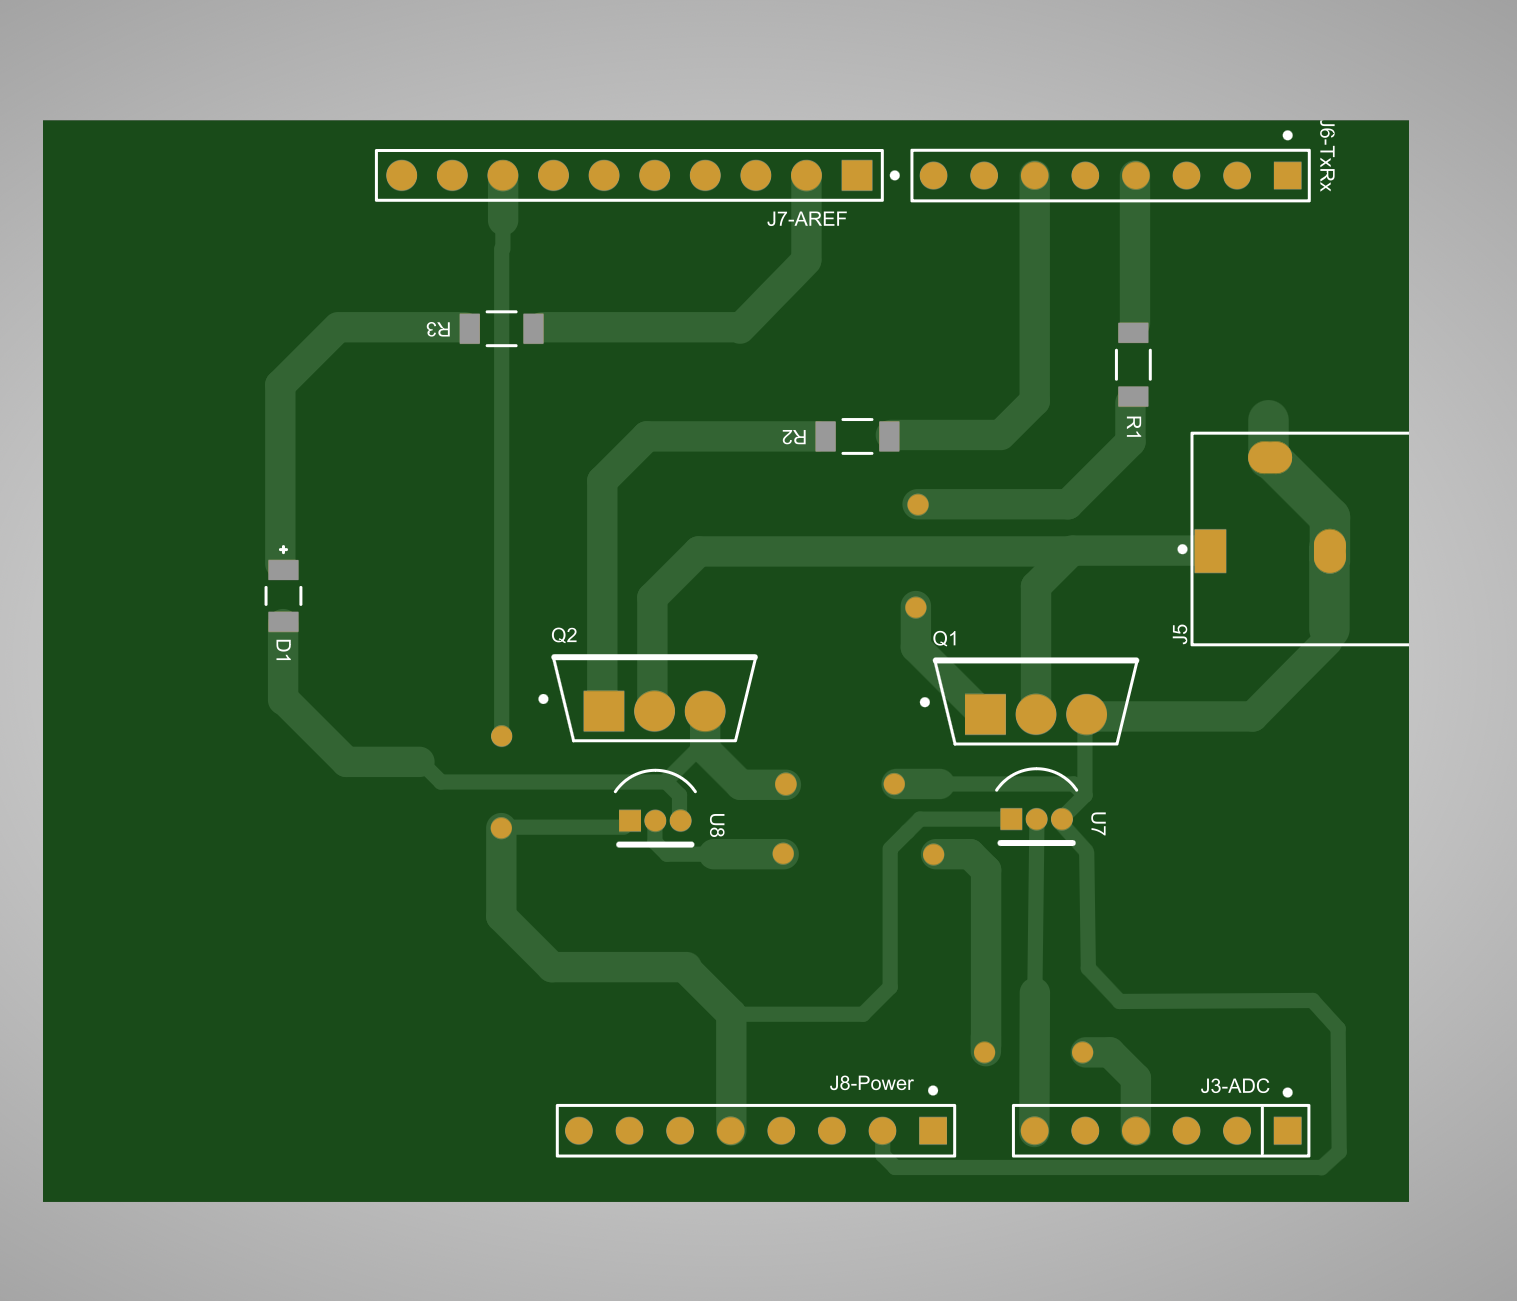
3. Designing the PCB: If you haven't already or prefer your own version, design the PCB layout using electronic design software such as Eagle, KiCad, Altium Designer, or Flux. Ensure the layout is optimized for the components' placement and connectivity while adhering to the project specifications.
4. Make the PCB: You can build your PCB by several methods (milling, stencils, transfer, etc.). All required files are provided at Upverter (not working 😞) or Flux.ia platforms.
5. PCB Fabrication: Once the PCB design is finalized, proceed with PCB fabrication. In fact, you already have one fabricated by PCB-Ways 😁.
6. Soldering Components: With the fabricated PCB, it's time to solder the components onto the board. Follow these steps for successful soldering:
- Organize your workspace with proper lighting and ventilation.
- Use a soldering iron with the appropriate tip size for the components.
- Start by soldering the smallest components first, such as resistors and capacitors, and then move on to larger components like integrated circuits and connectors.
- Ensure proper alignment and orientation of each component before soldering.
- Apply the soldering iron tip to the component lead and PCB pad, then feed solder wire to create a strong and reliable joint.
- Avoid overheating components and PCB traces by minimizing soldering time and using flux to aid in solder flow.
- Double-check each solder joint for quality and continuity using a multimeter.
7. Testing the Hardware: After soldering all components, thoroughly inspect the PCB for any soldering defects, shorts, or open circuits. Use a multimeter to verify the integrity and functionality of each component and circuit. Address any issues and make necessary corrections before proceeding.
8. Documentation and Feedback: Document your hardware assembly process. This documentation will be invaluable for future reference and troubleshooting. Additionally, provide feedback on the hardware construction process, noting any challenges faced and lessons learned for improvement in future iterations.
Congratulations! You've completed the initial phase of Project TCLab by building the hardware.
Stay tuned for the next steps, where we'll delve into software development and integration to bring our project to life. If you have any questions or need assistance along the way, don't hesitate to contact me for support.
Happy building! 🚀🔧
Gerardo Marx
Lecturer